The army knife might be one of the pocket tools you should carry around every day and a symbol of your status.
Therefore, you need to maintain it carefully and regularly.
Otherwise, it may break and not work when you need it.
So how to clean swiss army knife properly?
We will help you find the answer right in the article below. Let’s follow along!
Prepare The Necessary Tools
To find the answer to the question “How to clean an army knife?”, first of all, you need to know what tools you will have to prepare. The necessary tools are a brush (preferably an old toothbrush), dish soap, lubricant, Q-tips, a lint-free cloth, a cotton swab, and finally, a newspaper or rag.
It would help if you were fully prepared so that the process of cleaning an army knife is not interrupted.
How To Clean A Swiss Army Knife?

After you have all the tools ready, follow each step in the clean army knife process below.
Step 1: Remove tools and electronics from the knife
Before you start cleaning, you will need to remove the tools and electronic components from your knife.
Tools you need to remove like toothpicks, needles, and tweezers. Electronic parts such as flashlights and USB parts also need to be removed before cleaning.
For extra safety, you should also remove the battery from the knife to prevent unnecessary damage.
Step 2: Fill the sink with warm soapy water
After removing the tools in step one, the next step, fill the sink or sink with warm soapy water. You need to make sure to pour the amount of water so that the entire knife will be in the water.
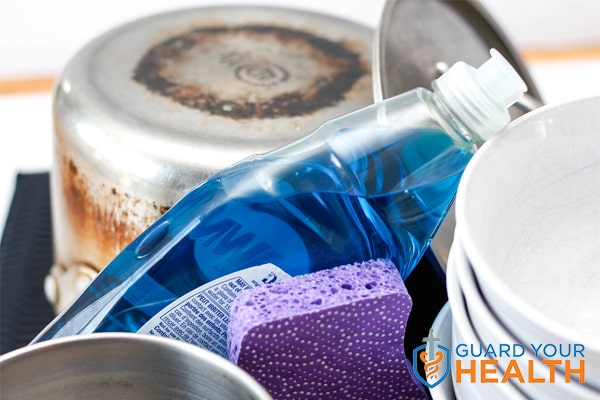
A note for you at this stage is to use regular dish soap instead of strong detergents because it can damage your knives.
Step 3: Brush off dust and dirt
Before placing the knife in the water bath, you should use a brush to remove dust, dirt, and fluff accumulated in the joints and on the hinges of the blade.
Step 4: Open the tool the whole knife and clean the inside
At this 4th step, you must open the fundamental tool of the knife. Be careful because the blade can hurt you.
Then, soak it in a bath of warm soapy water mixed above for 30 minutes. You should also open or close the knife continuously so that the dirt is to the outside.
Debris can break and escape from the knife under the influence of heat, moisture, and the cleaning power of dishwashing liquid. To ensure that all stubborn stains and excess oil are removed, you should also use a brush to brush the tools gently.
Step 5: Wash and dry the knife
After you’ve cleaned the knife, you should use the sink faucet to wash away any dirt and soap residue on it.
Next, you need to dry the knife thoroughly because almost every part of the knife is made of metal and can rust if exposed to water for a long time.
It would be best if you took the lint-free cloth prepared above to absorb and dry it. You can also use swabs to soak the crevices inside the knife.
In fact, it is challenging to dry knives immediately but try as much as you can.
A small tip for you to dry your knives faster is bringing them to a sunny place, in front of a fan, or using a dryer. It will make the water inside the blade evaporate more quickly.
Step 6: Lubricate the knife
Since you have rinsed off all the lubricating oil in the knife, you need to re-lubricate it after the blade is dry.
Usually, you will use the army knife to cut food, so I recommend using mineral oil to be safe.
Plus, if you’re not good with your hands, I recommend lining up a layer of newspaper or a rag underneath, so it doesn’t smudge on the floor.
When lubricating, you should apply a sufficient amount, not too much, on the hinges of each tool. Otherwise, they will be challenging to open and may rust.
On the other hand, if the oil bottle you buy lacks a nozzle, use a Q-tip to oil it. To use the Q-tip, flatten one end with pliers, cut the other end, and continue to flatten it. The flattened Q-tip will help you oil even in narrow hinges.
After oiling, open and close the tools a few times to distribute the oil more evenly to the areas you haven’t applied yet.
Step 7: Clean excess oil
The final step in the process of cleaning an army knife might be to remove excess oil. This step may not seem important, but it is essential.
If you don’t clean the extra oil from the blades, they will attract dust and other deposits, which can cause blockages and rust.
To wipe off excess oil, you should use a lint-free cloth as it both helps to remove extra oil and holds just the right amount for the knife.
Things You Need To Avoid
A few things you need to avoid while cleaning an army knife:
WD-40
WD stands for “water displacing”, usually acts as a solvent or rust dissolving agent.
Because it has the effect of dissolving rust, many people think that it is effective in cleaning your army knife. However, the reality is not like that. WD-40 is too strong, so it is often used for heavy chains, car components… instead of small tools like swiss army knives.
Dishwasher
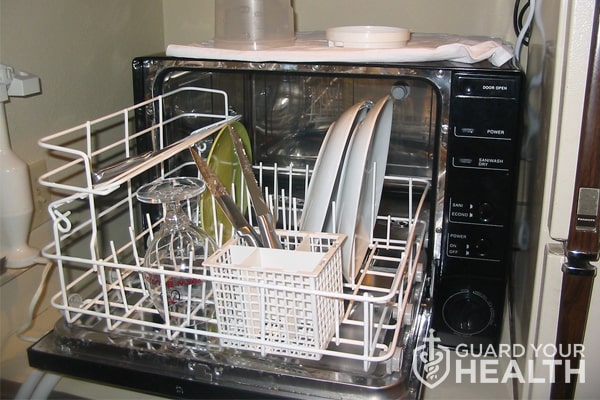
One thing you absolutely should not do is clean an army knife in the dishwasher. The cleaning mechanism of the dishwasher is not necessarily clean deep inside your knife. Not only that, but the detergent in the dishwasher can also cause your army knife to stop working.
Bleach, detergent
If you use bleach/detergent to clean an army knife, your knife may scratch and rust faster. It would help if you only used regular dish soap to clean it.
Sandpaper
As above, if you use sandpaper to clean an army knife, your knife will scratch, rust, and make your cleaning process pointless.
Conclusion
Thus, you must have known how to clean a Swiss army knife properly and avoid as many mistakes as possible through the above article.
Cleaning your knife yourself will not only save you money, but it will also allow you to clean it more often than taking it to the store.
Take care of your knives to last as long as possible!

The 16th Sergeant Major of the Army, Sgt. Maj Christian Smelling was sworn in on August 11th 2009 and has held every enlisted leadership position ranging from cannon crew member to command sergent major